

Upload an invoice
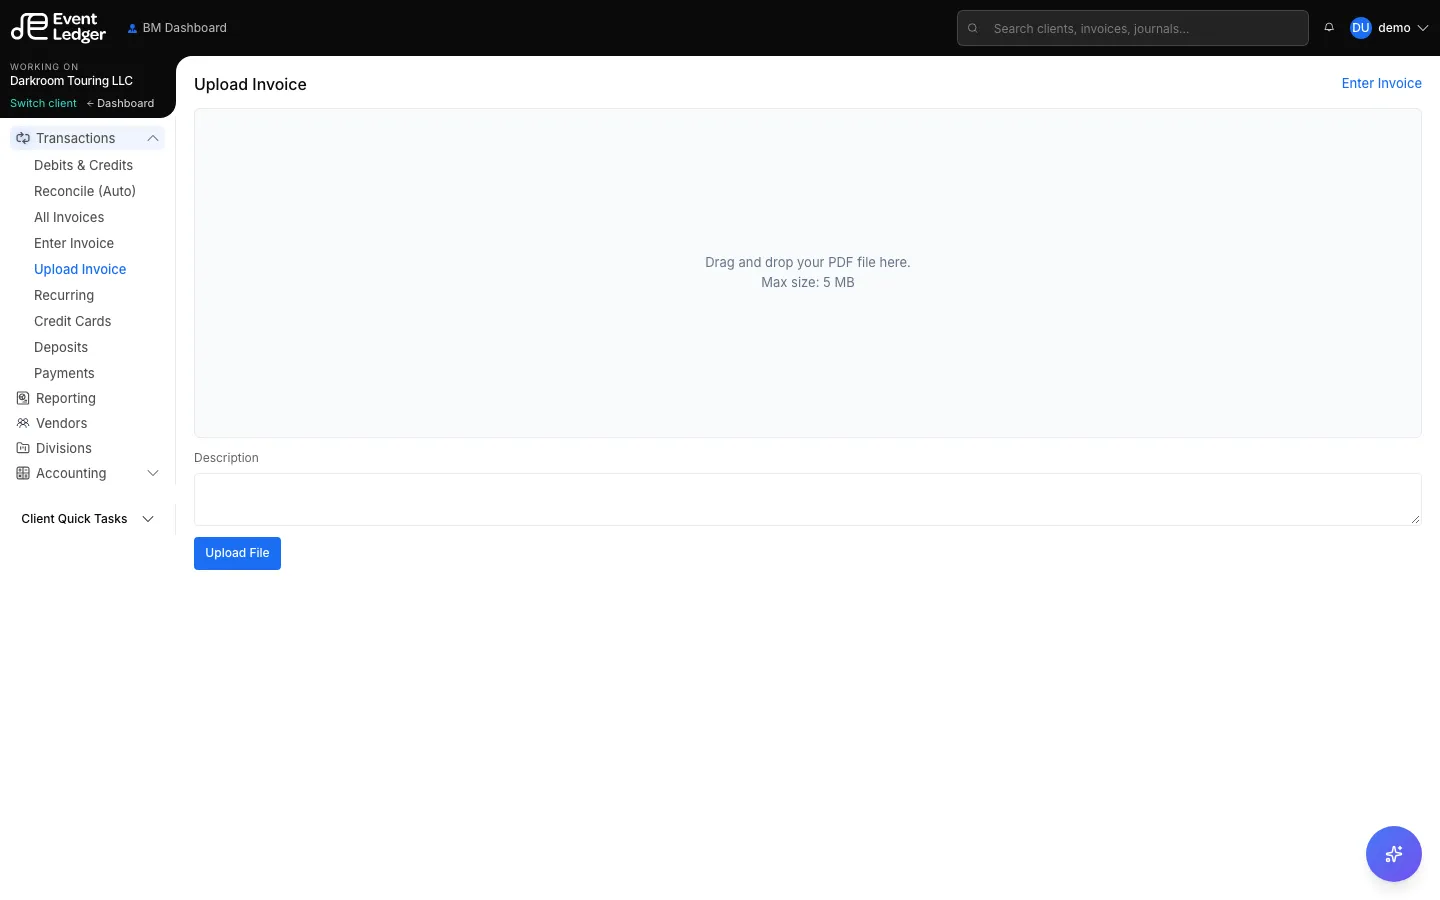
Upload stores the PDF with the client. It does not create the vendor bill. Coding on Enter Invoice is what posts AP.
From the client workspace
Section titled “From the client workspace”- Open the client.
- Go to Transactions → Upload Invoice.
- Drop a PDF (or click the drop zone). Max size 5 MB. Only PDFs are accepted here.
- Optional: add a Description so the file is easy to find later.
- Click Upload File.
On success, EventLedger sends you to Enter Invoice (Uploaded Documents).
There is also an Enter Invoice link in the top-right of this page if you already uploaded and want the list.
After upload
Section titled “After upload”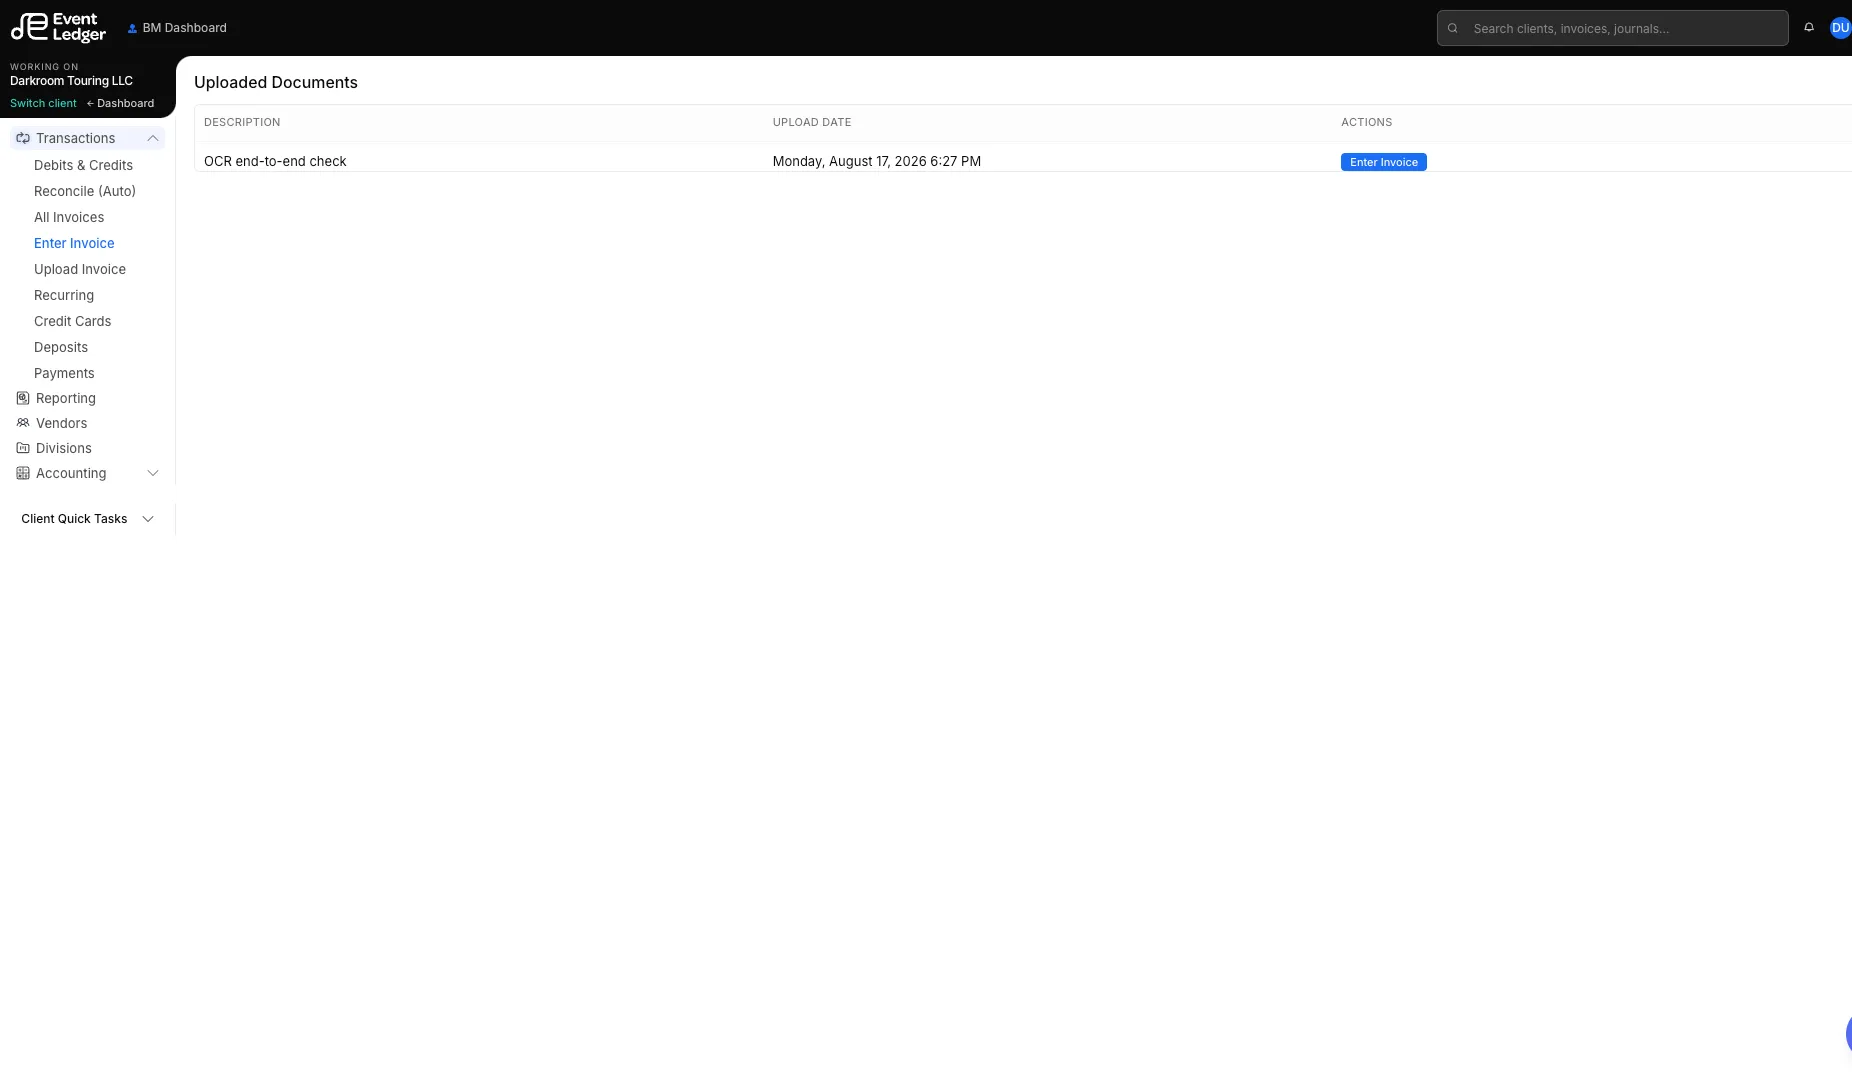
Unused invoice PDFs appear as rows (description and upload date). Click Enter Invoice on a row to open the coding form. The PDF sits next to the form so you can read it while you type.
The form does not fill itself from the PDF. You still enter vendor, dates, amount, and GL lines. See Enter and code an invoice.
Mass upload instead
Section titled “Mass upload instead”On Client Dashboard (and the BM / AM / Bookkeeper dashboards), Quick Documents Upload takes several files at once. Categorize each file as Invoice to land it in this same Enter Invoice list. That drop zone allows PDF, CSV, OFX, or QFX up to 20 MB. See Upload documents.
Dedicated upload pages also exist for deposits and credit card import.